Bread For Daniel
Aug 28, 2016I regularly bake my own bread and recently I shared my sourdogh culture with a collegue. Seeing his first loaf reminded me of my early attempts and inspired me to write this post to get him going on a second try. I am a big fan of the lazy no-knead breads which sit overnight and use autolysis to form the gluten. This recipie is for a basic bread using this the no-knead technique and it can be made into either a loaf, mini baguettes or rolls (a.k.a Brötchen or Semmel around here).
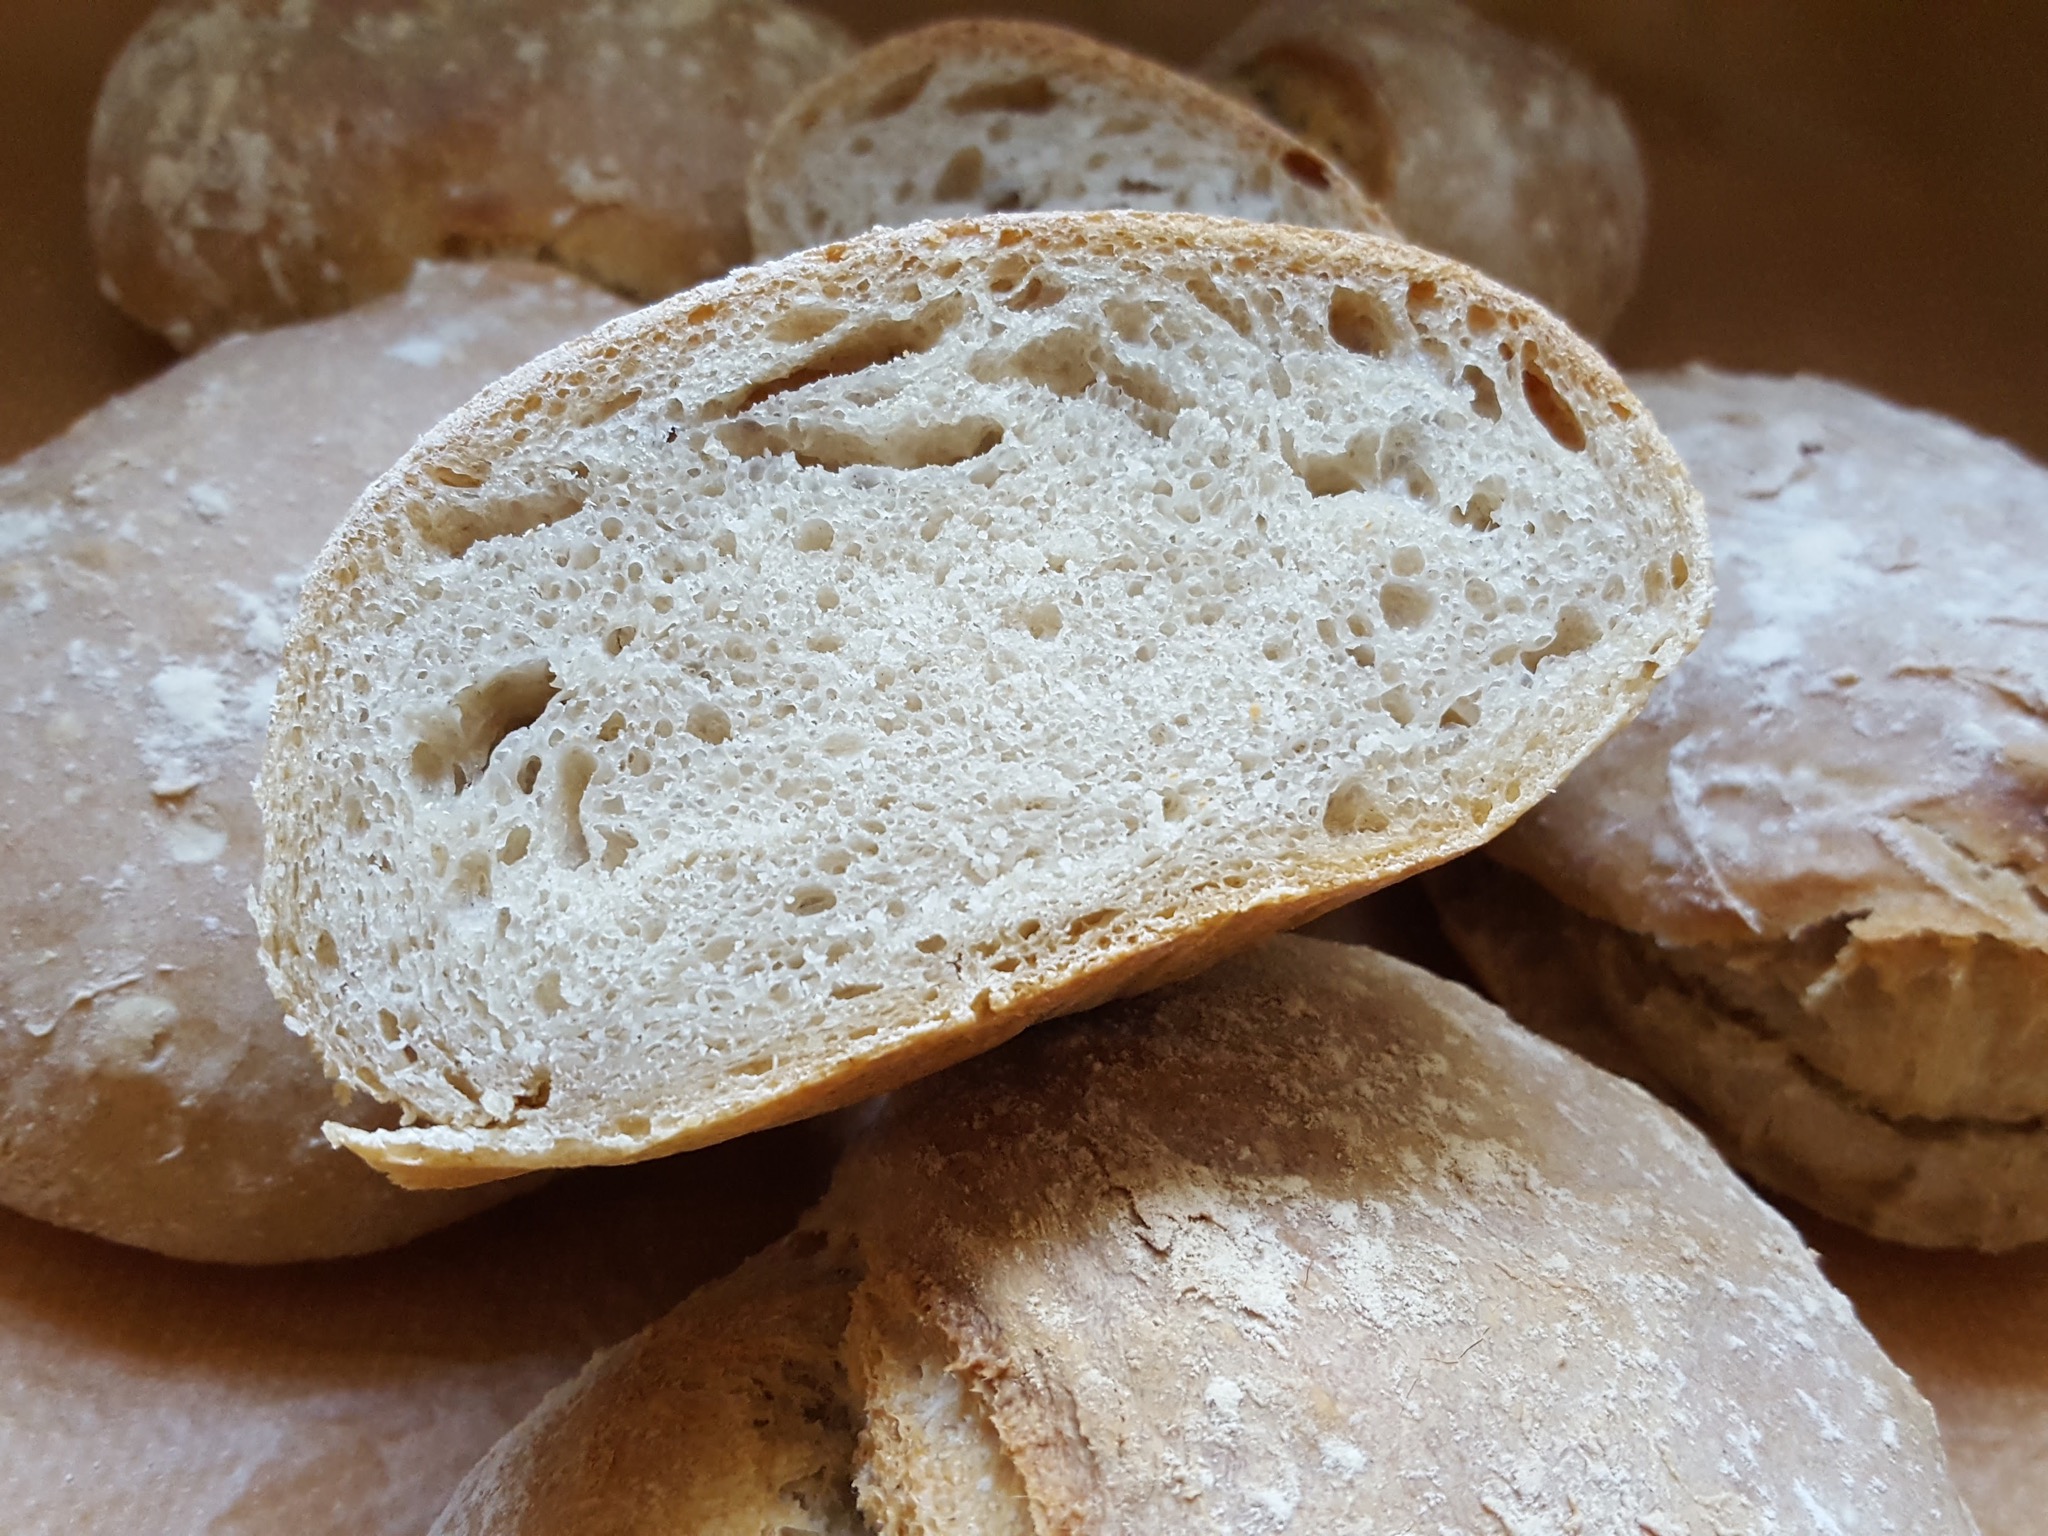
I don’t know where I got the original recipie, but this version is what I have hanging on my fridge. Usually I bake something along these lines and I use it as a convenient starting point for experimentation. It produces a regular, no-frills bread and it is easy to succeed with. A good basic bread!
Ingredients for a basic no-knead bread
- 400g Wheat flour, intended for bread doughs (Type 550 in Germany)
- 100g Regular Rye flour, Type 1150 in Germany. Can be exchanged for Dinkel, more Wheat etc. Add for taste.
- 6-10g Salt, preferably without added iodine to not kill off the yeast. More salt –> Tastier bread!
- 340g Water (the exact amount will vary with the flour used, air humidity etc)
- Yeast in some form, (pick one)
Preparation
The order of mixing is not significant. You can start with the yeast, add water and then finally the dry ingredients too. Any order will work.
Mix the dry ingredients
500g flour and a pinch of salt.

Dry ingredients
Add water and stir
The exact amount of water will vary and it is strictly not critical. Less water will yeld a firmer dough and more a more sticky one.
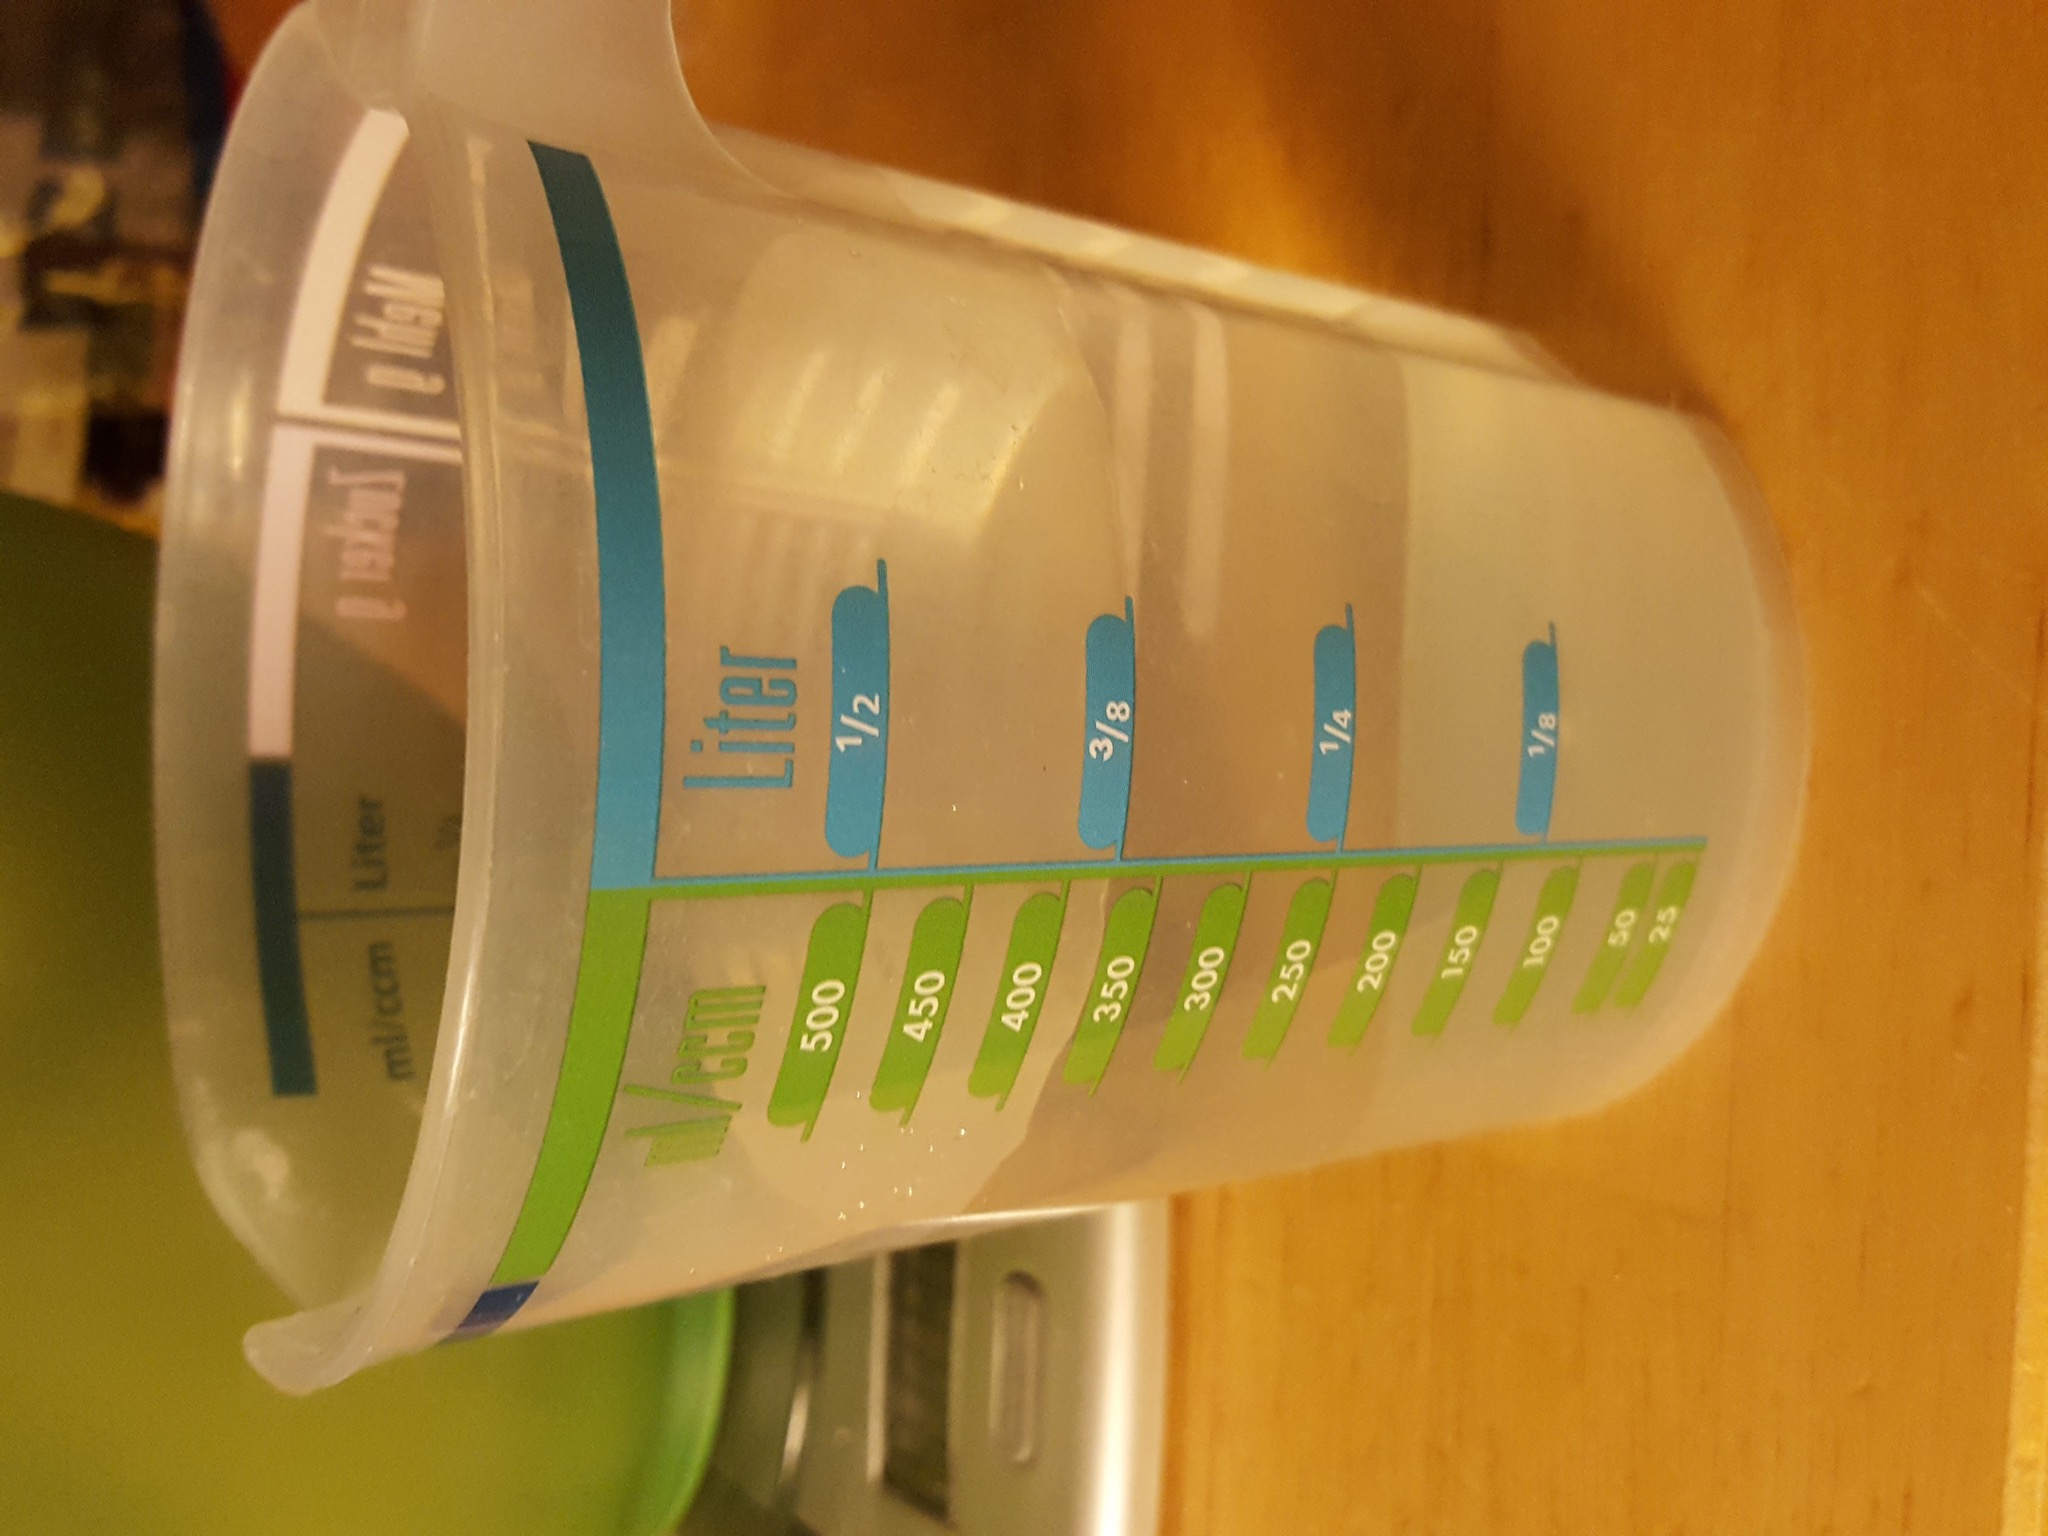
Adding water
Add yeast mixture
Add in the rising agent of choise. Because I am lazy, I often start with the yeast mixture first and then add the rest, ending with the dry ingredients.
The picuture shows some poolish I started from dry yeast.
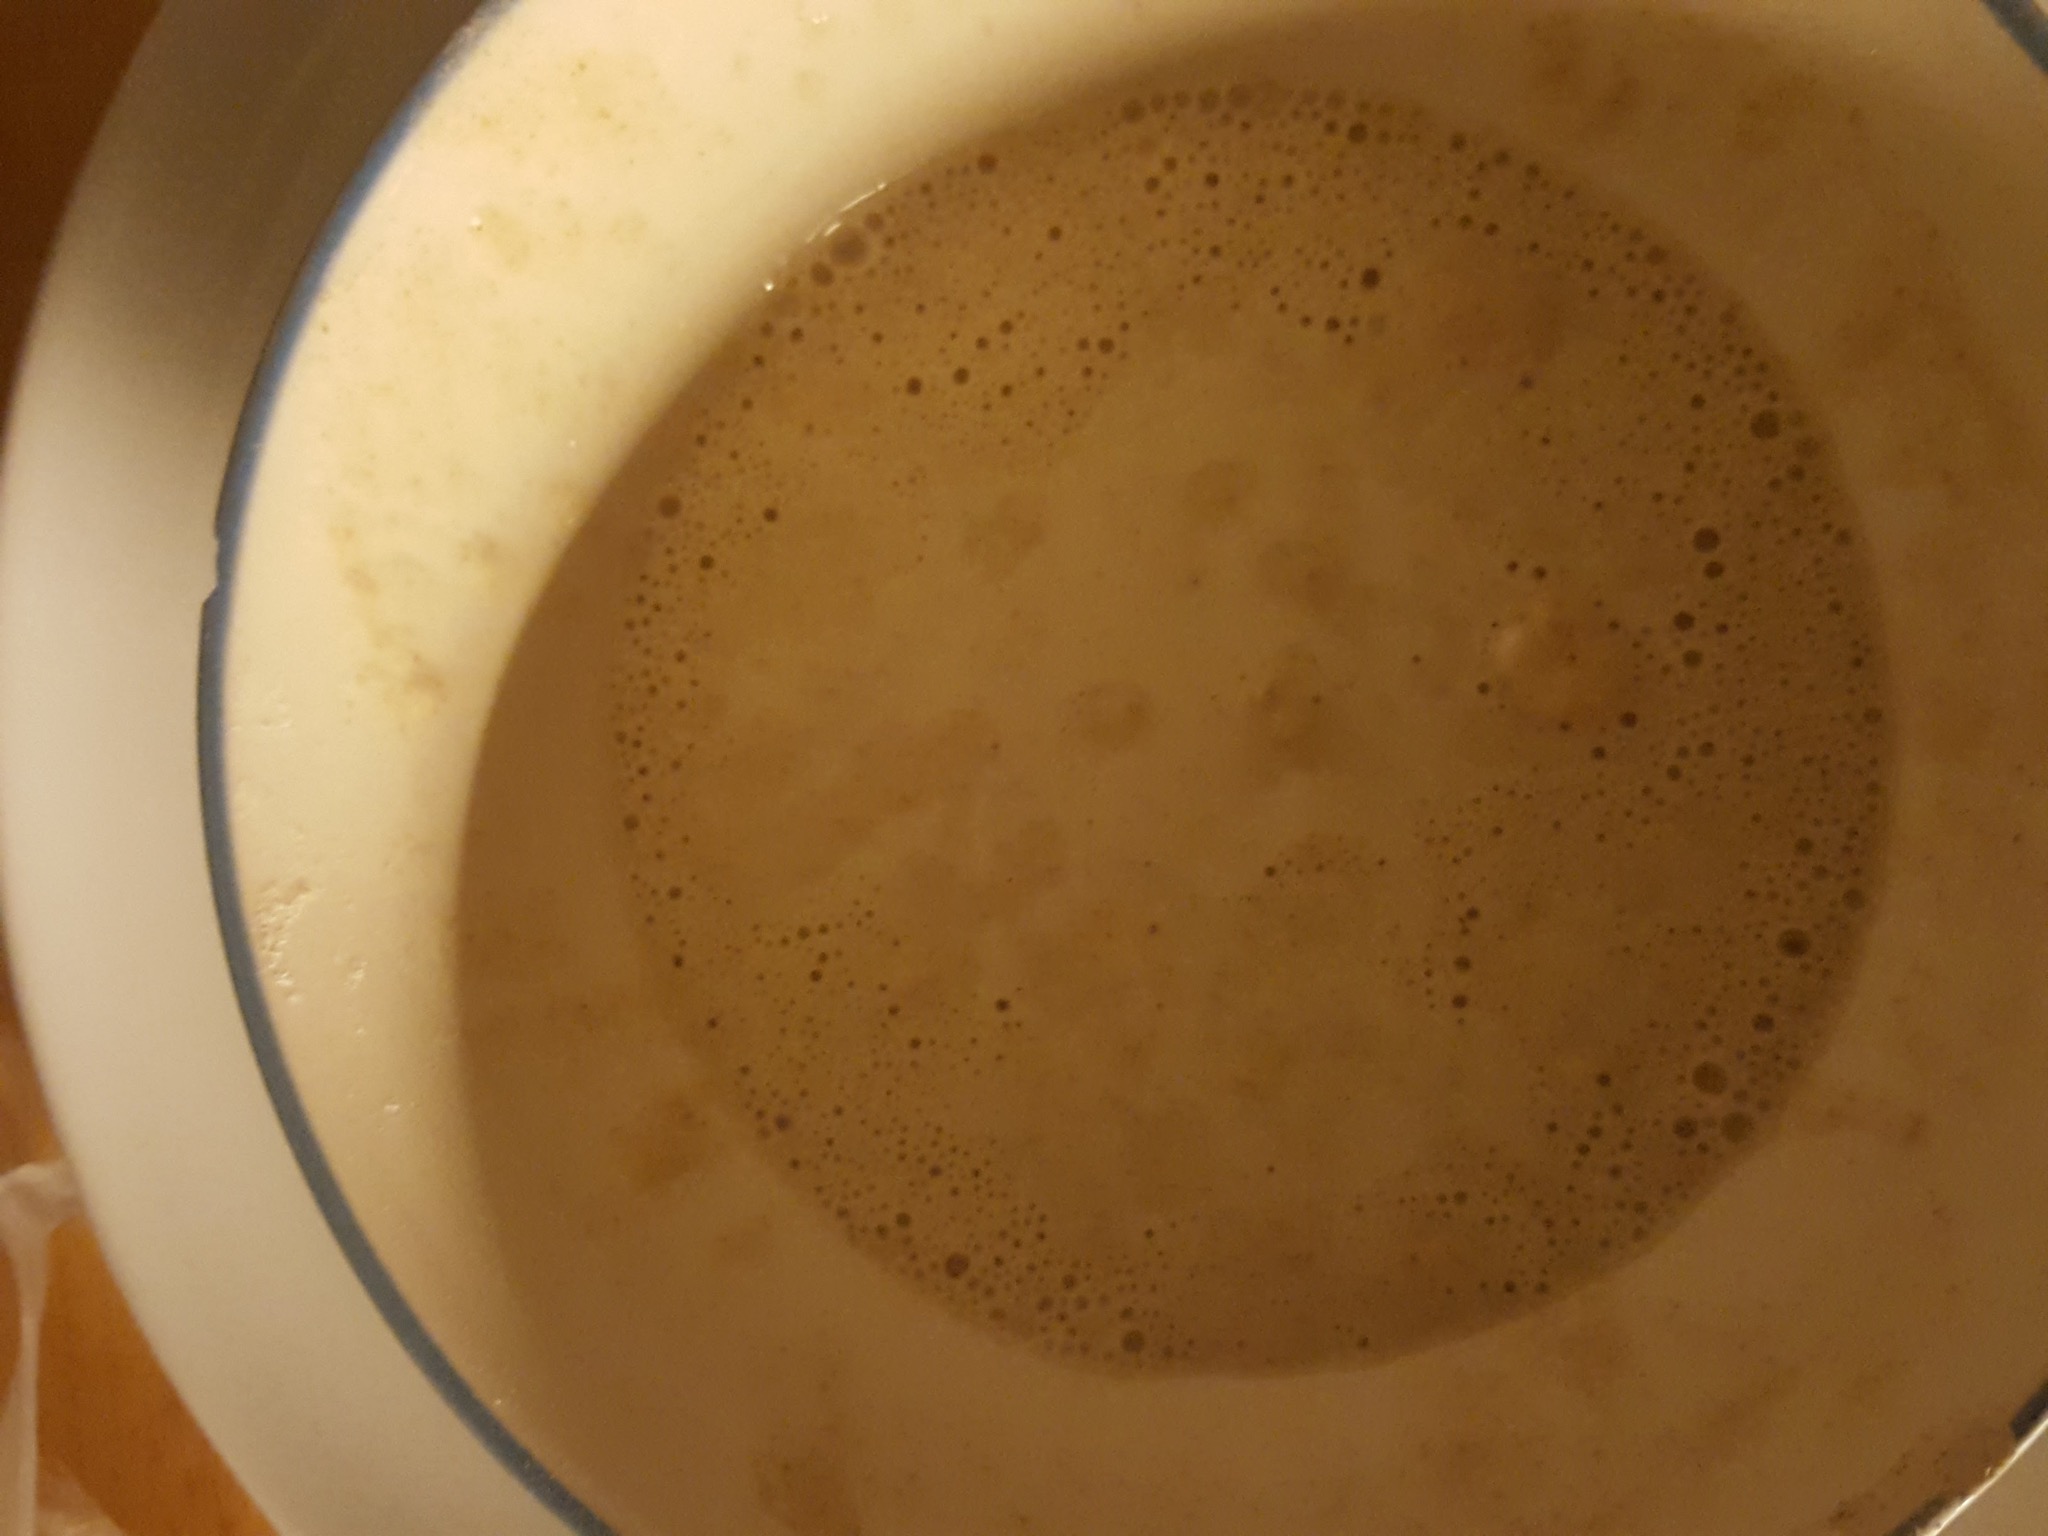
Adding poolish
Work into a craggy dough
Work all of it into a dough. At this point, you can either add more flour or more water depending on which way the dough seems to go. I usually go for a dough that is not runny at all, but not really firm either.
Working the dough more, will from some initial gluten, but it is not required.
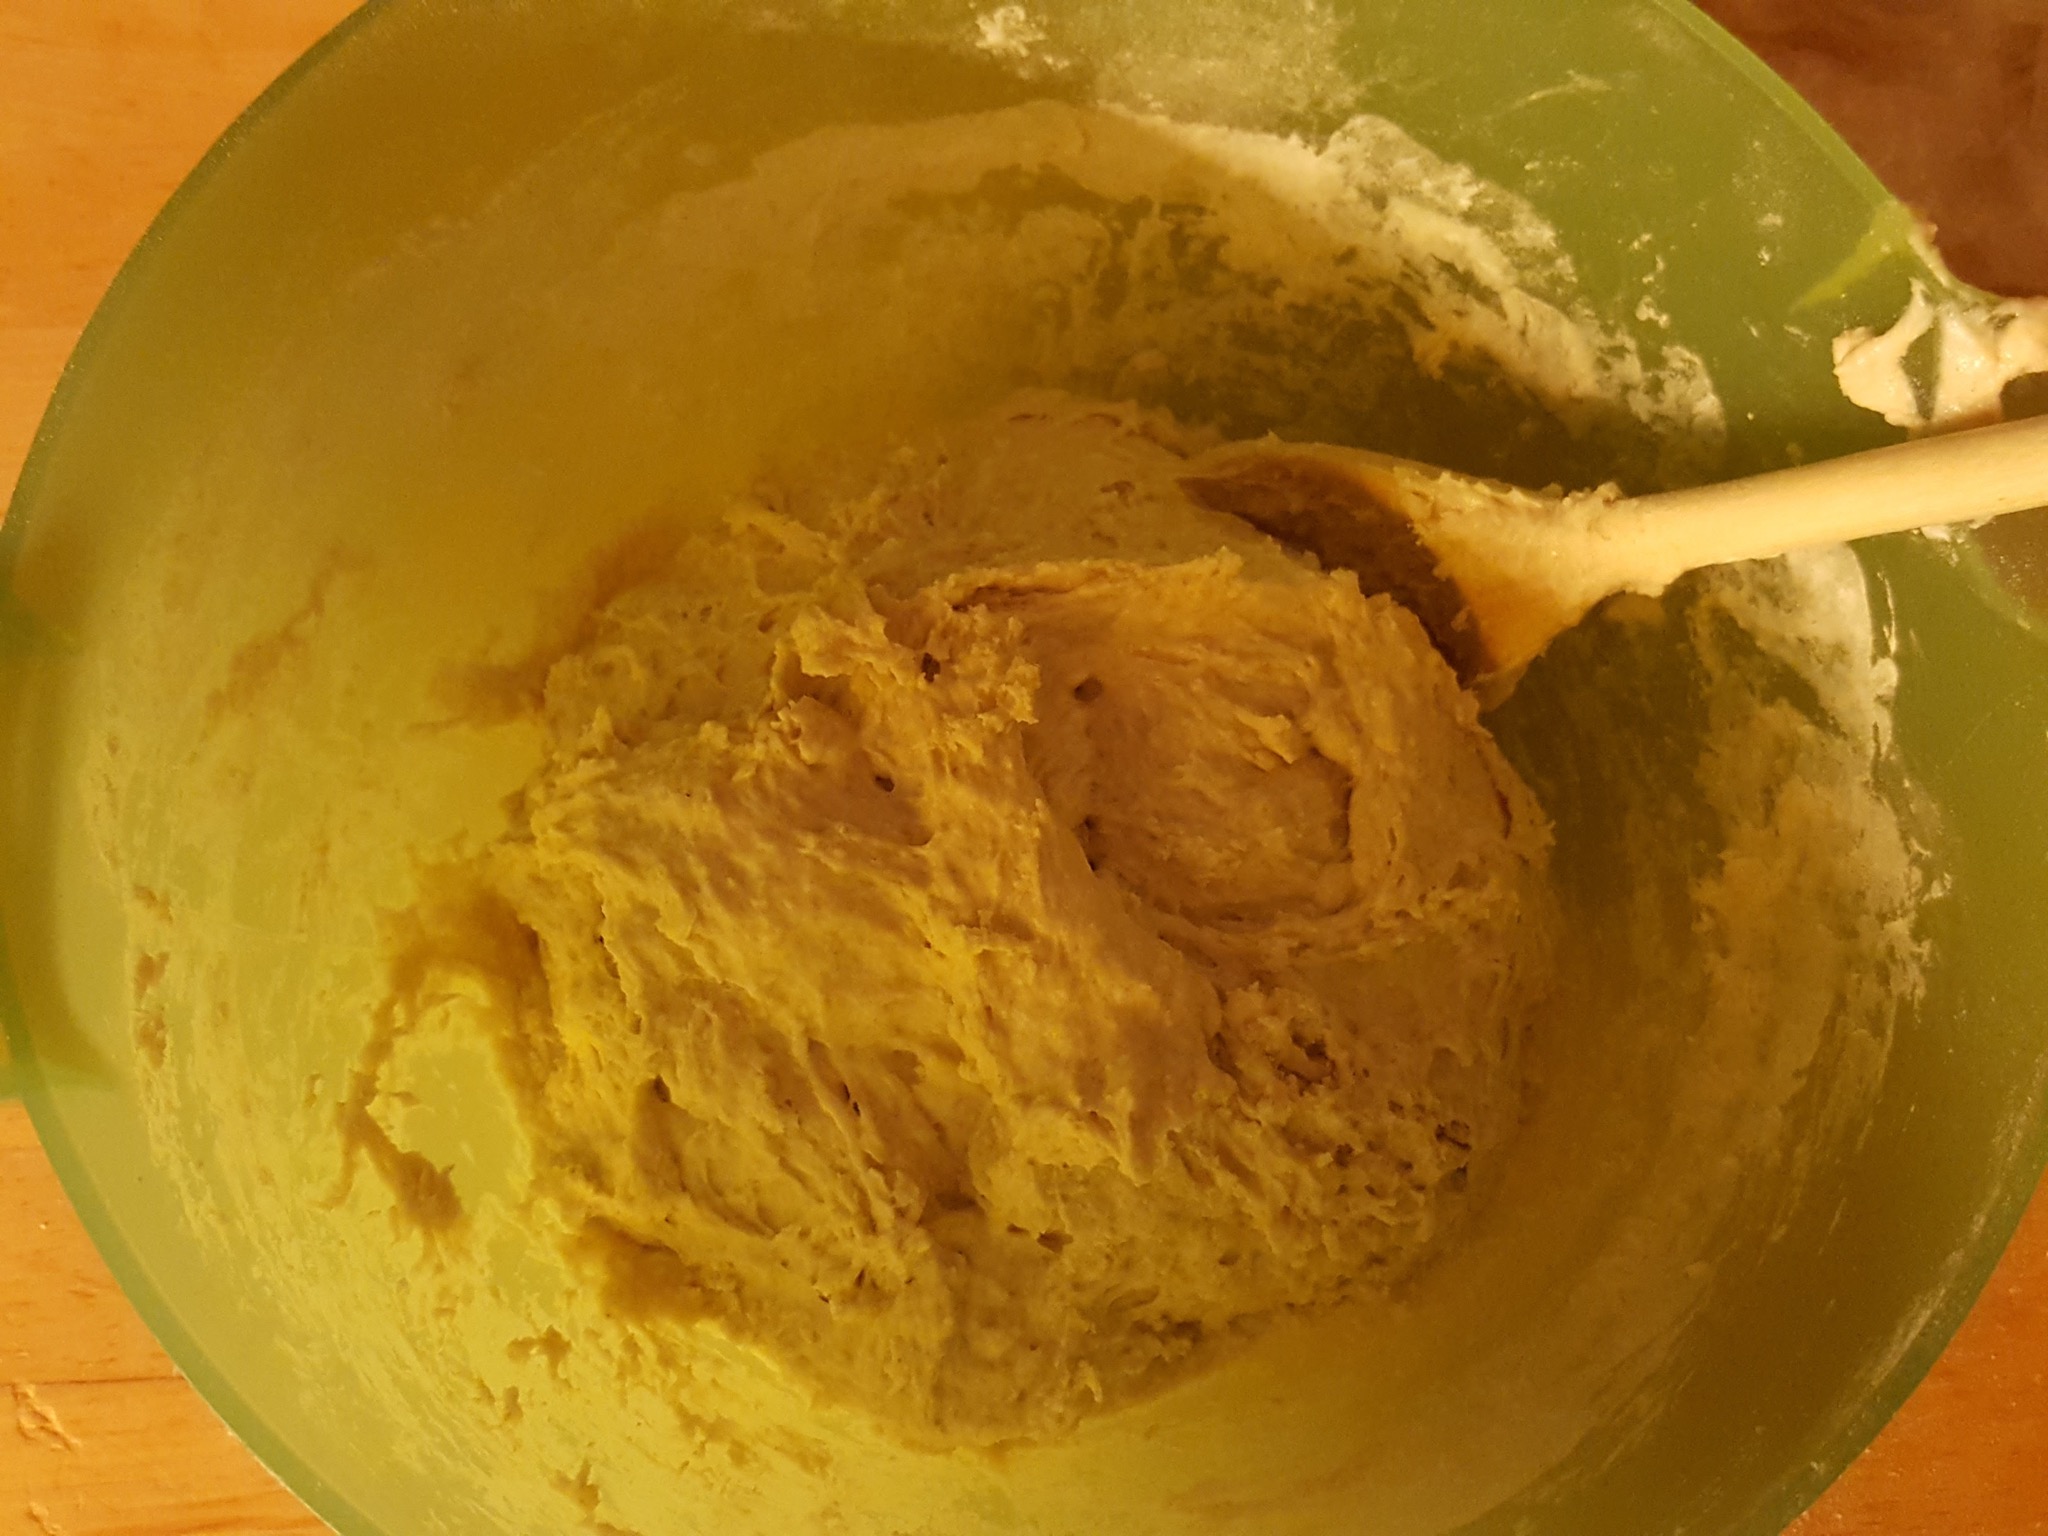
Craggy dough
Cover and put away for 8-12h (overnight)
You cover the dough to prevent it from drying up and forming a crust and also to protect it from dust and dirt.
Put it in the fridge for a slower ferment, or leave out on your counter top for a quicker rise.
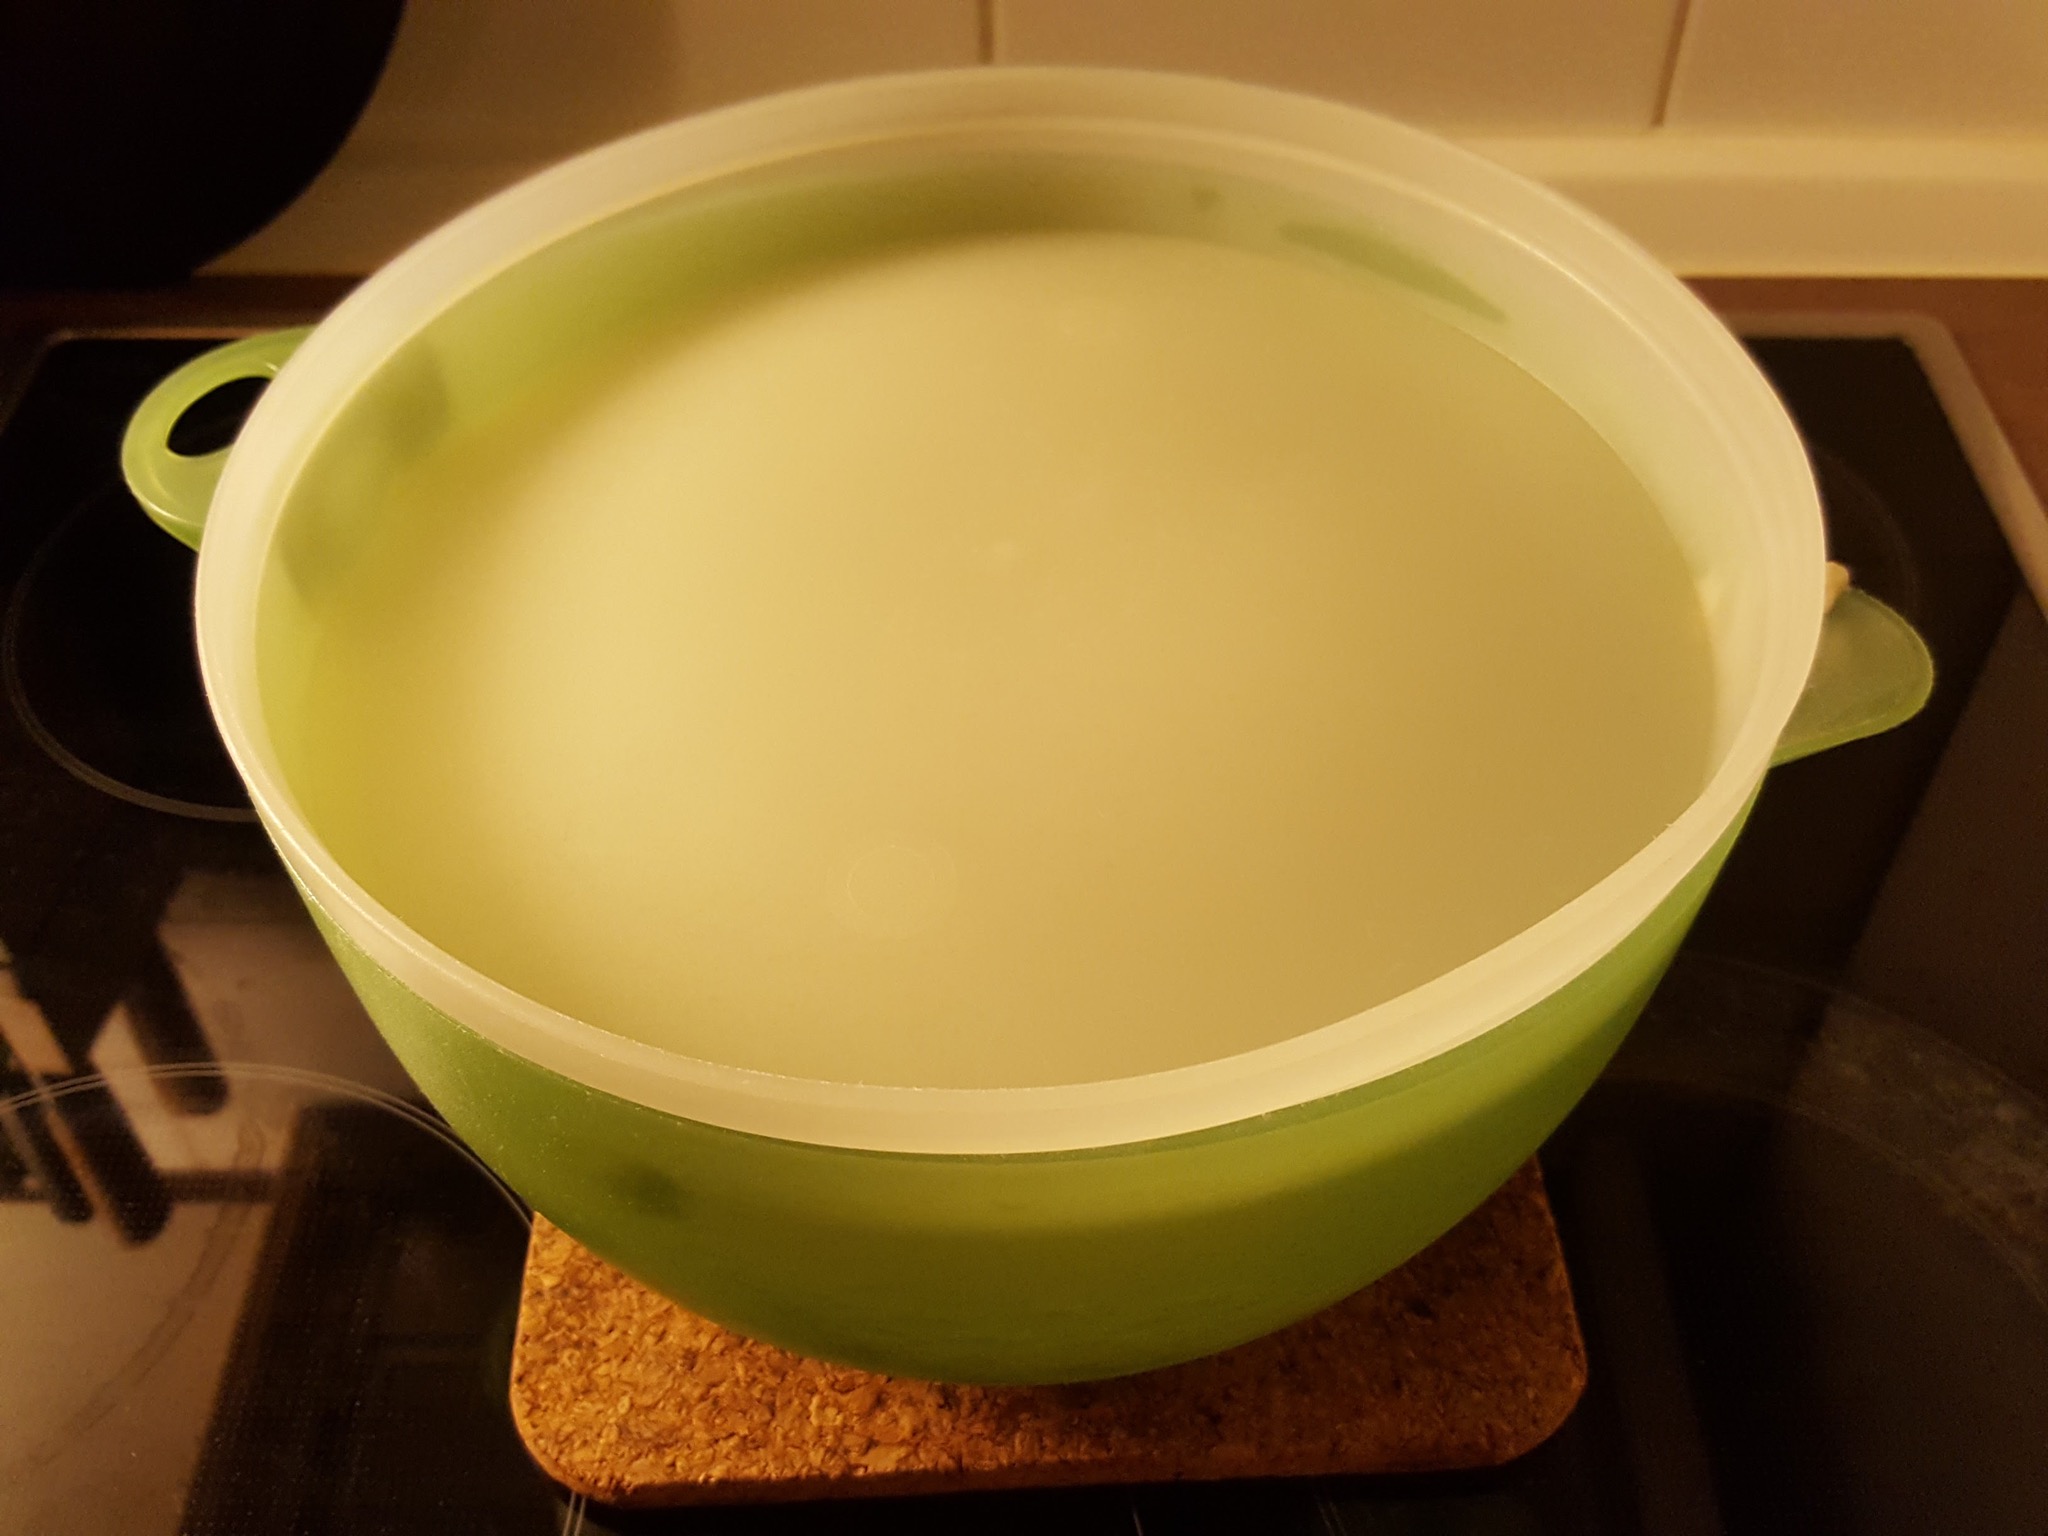
Cover and let rest
Reward yourself for having made it this far
It’s evening. Probably Friday or Saturday night. You deserve it!

Relax and wait
Baking
Set the oven on highest
Whatever your oven will go to, use that temperature. It cannot be too hot. Mine goes to 250C and that is what I use. Only for larger loafs, you might have to turn it down to 200C or so after the initial 30min.
If you bake in a dutch oven, this is the time to put the cast iron pot in as well, but since this recipie is for the basics, don’t bother.
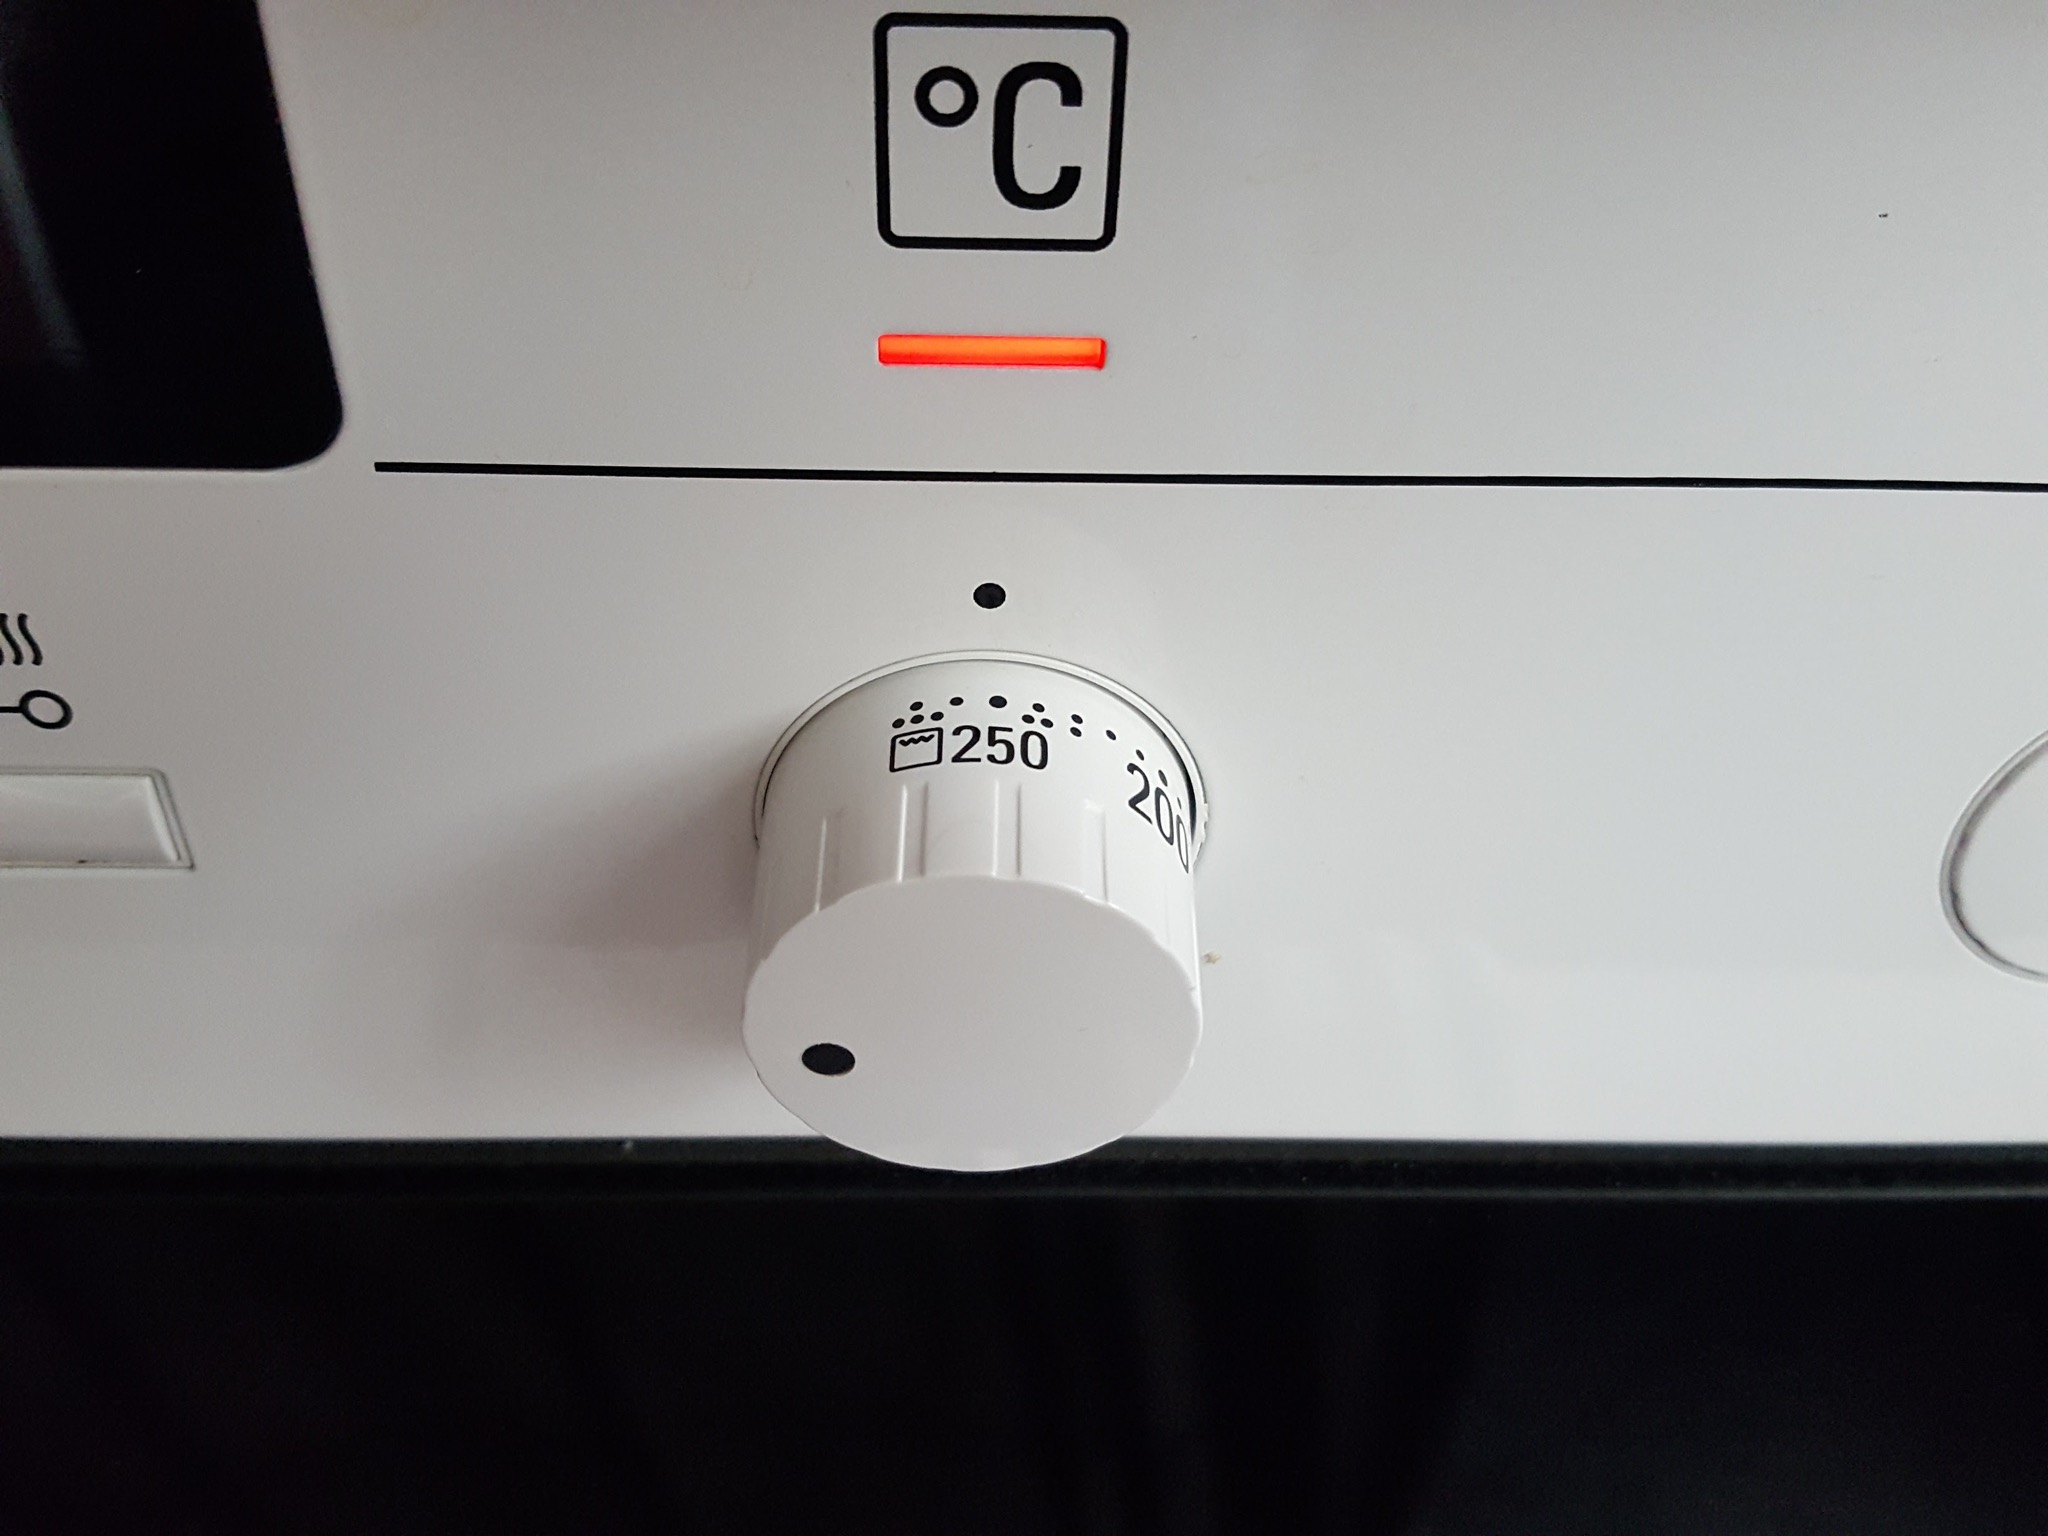
Oven on!
Form the bread(s)
Dust your work area wih flour and pour the dough. Carefully strech and fold the dough, but don’t kneed it. After that, form some breads. Smaller ones will bake faster. A single loaf longer (see below).
Unsure how to stretch and fold? Imitate this guy (you, don’t have to do it twice as he does, although it probably yields a better result).
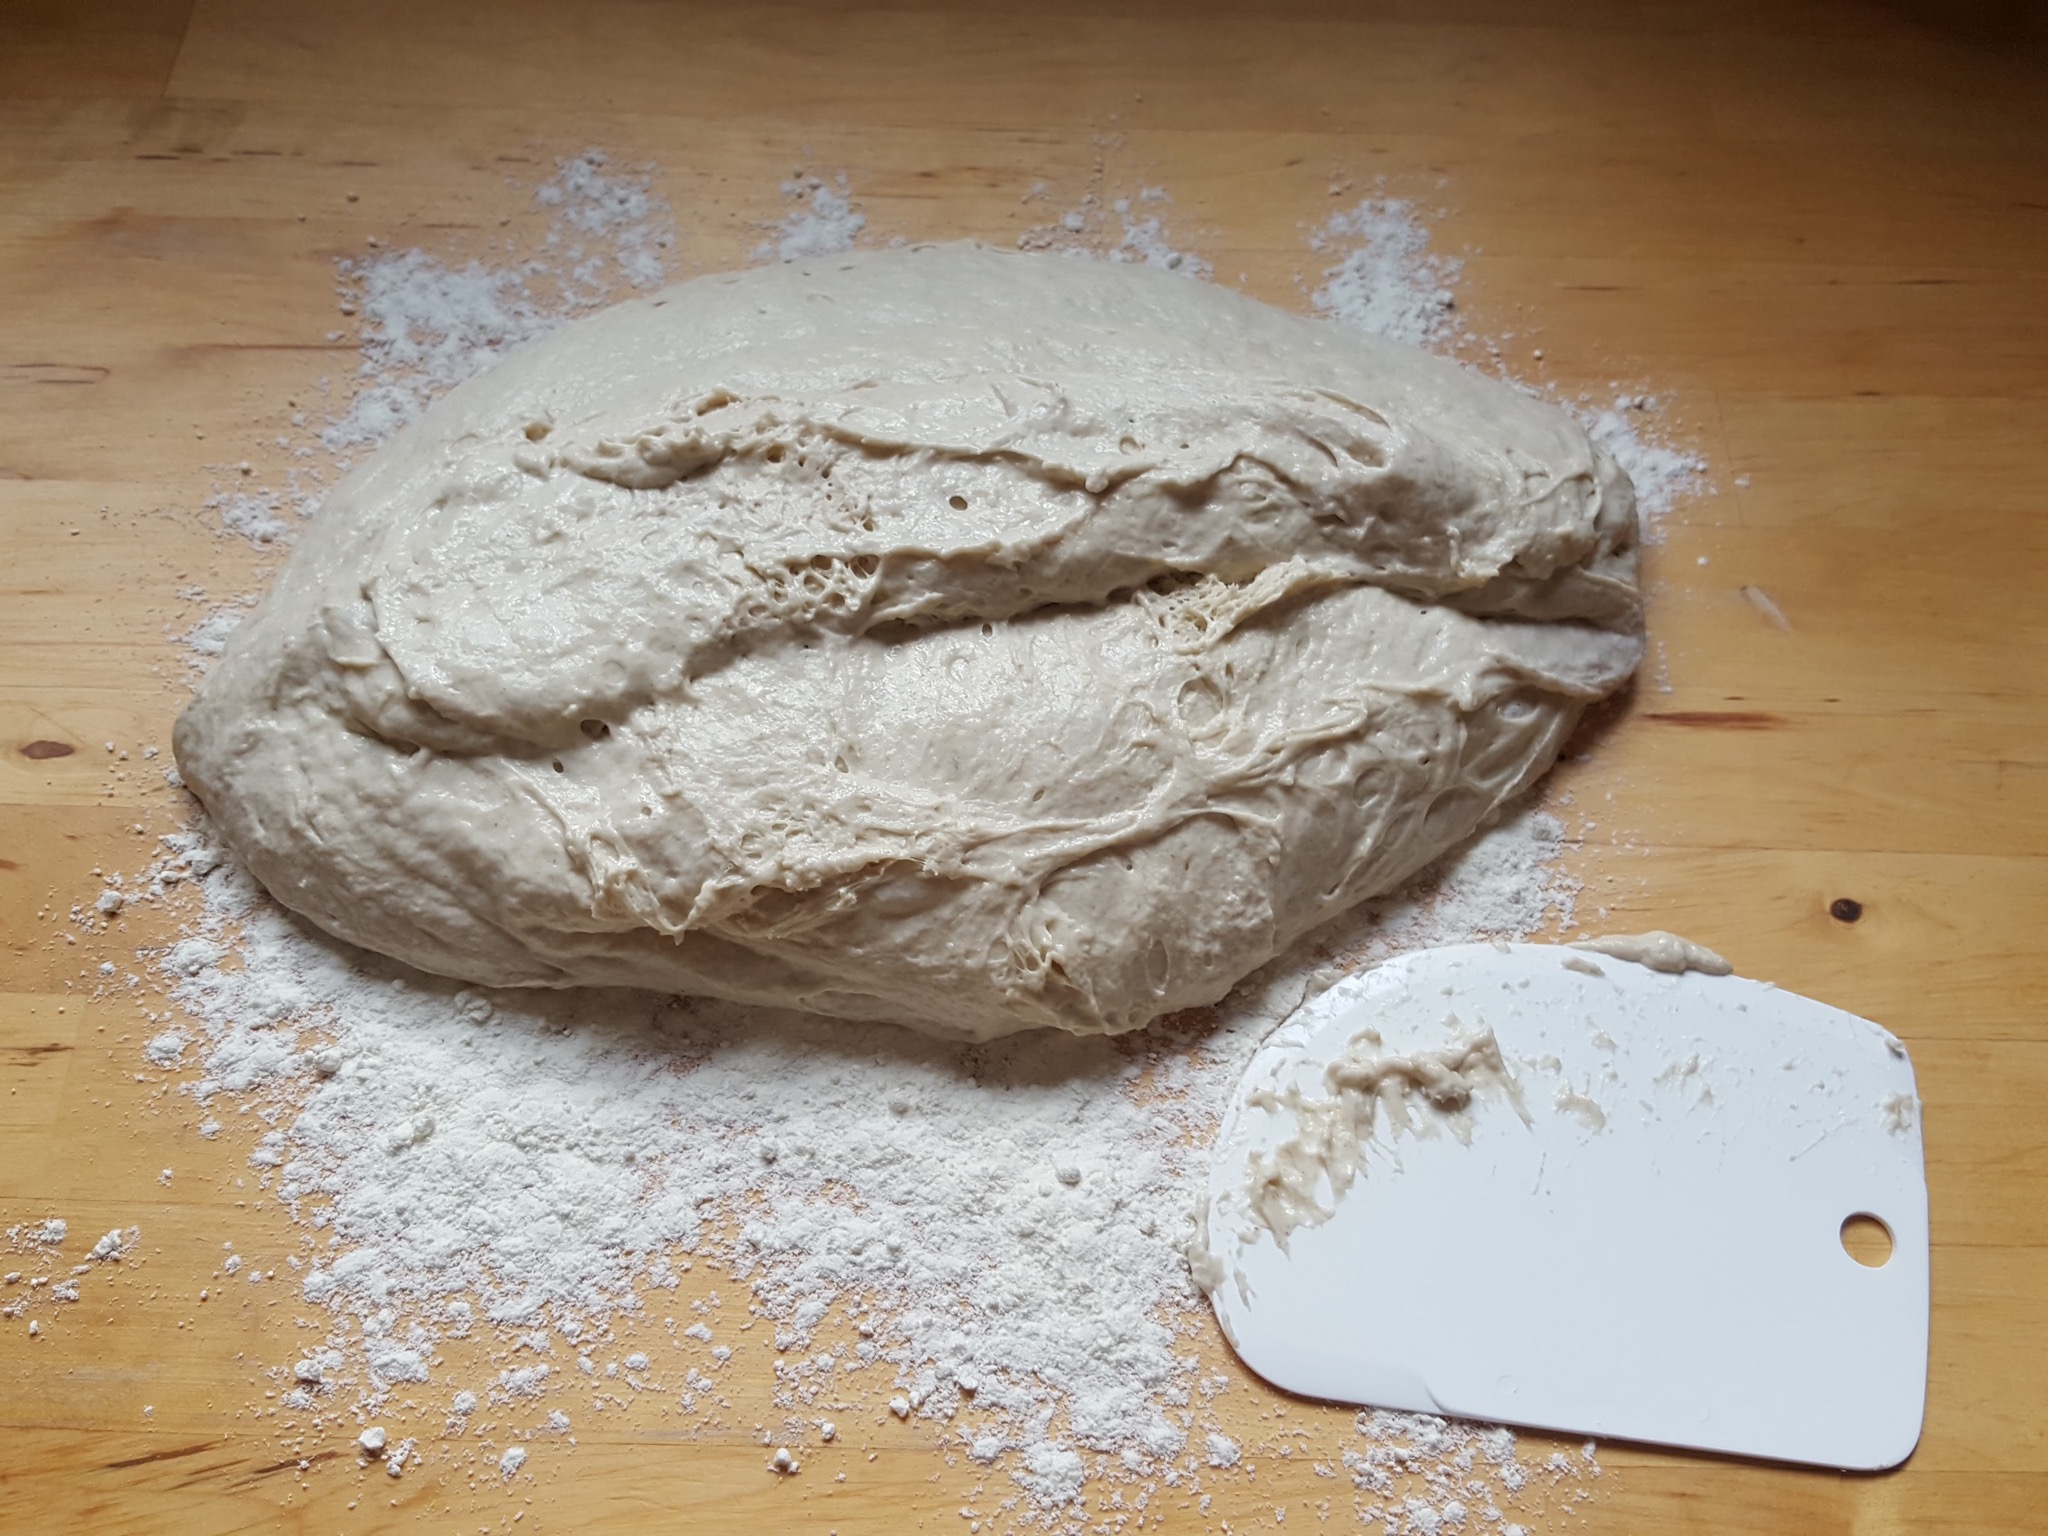
Ready to become bread
Let rest for about 30min
Let the formed breads rest. They will not change in size significantly and this step can be longer. The point is to let the yeast do some more work and let things set a little.
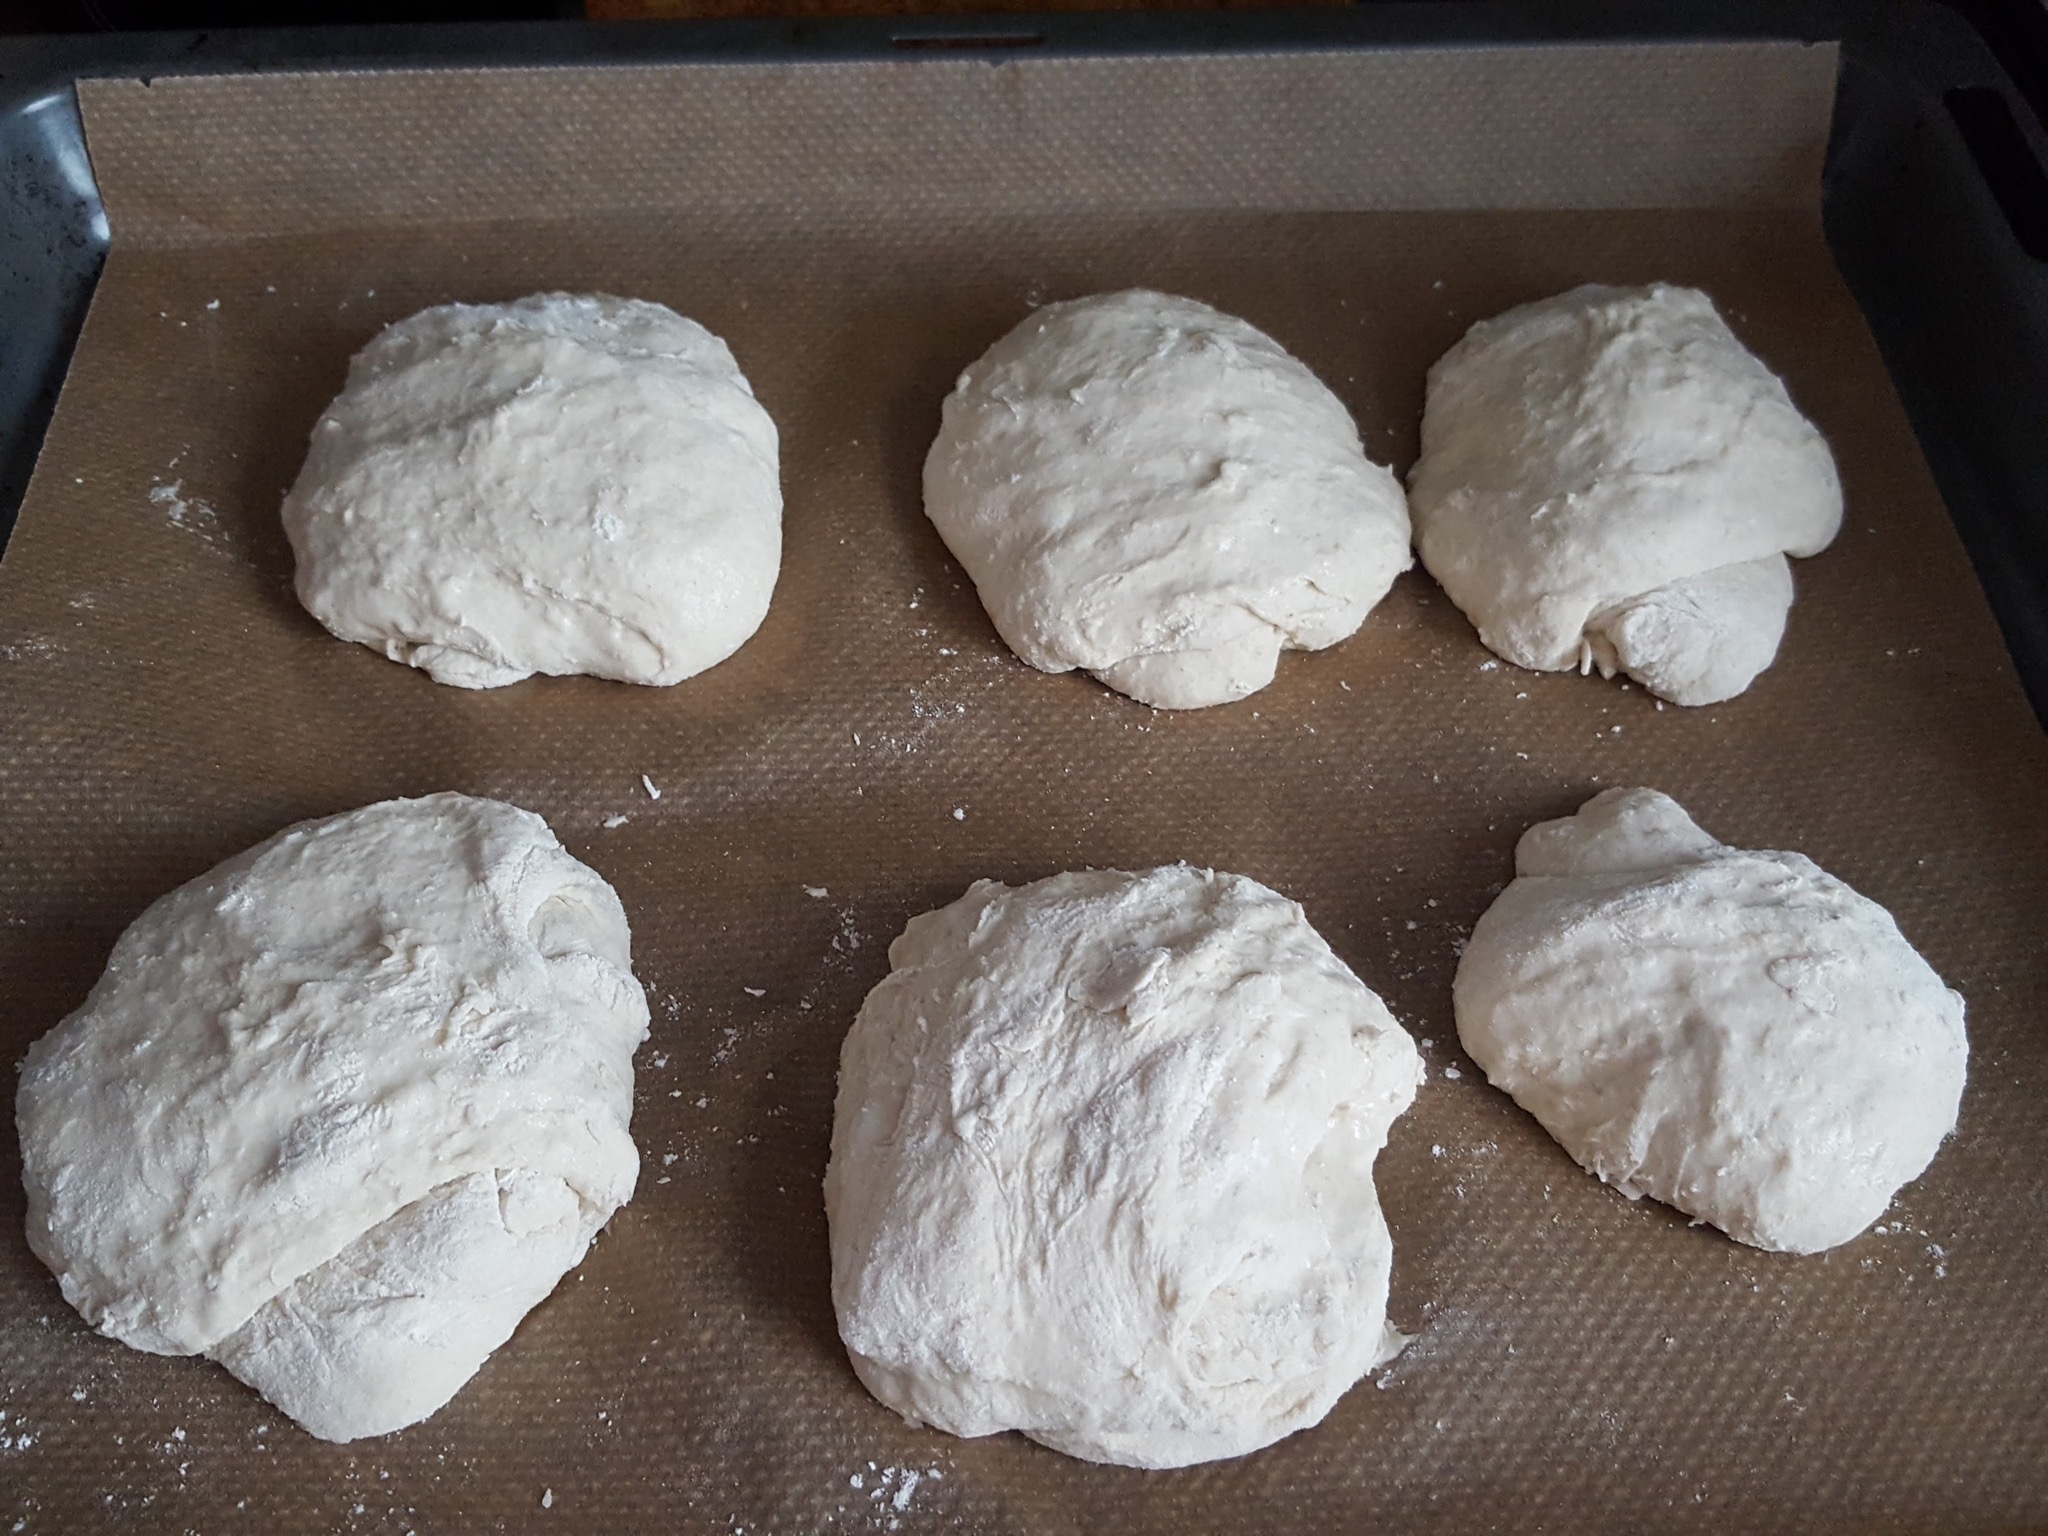
Let rest
Bake in oven, take out, let rest. Done!
The bread needs to reach an inner temperature of around 95C, but a longer time in the oven is better than too short. It also depends a lot on the oven. Bake the same bread a couple of times and you will see.
Let the bread rest until it has cooled significantly down before cutting it.
Rough oven time guide
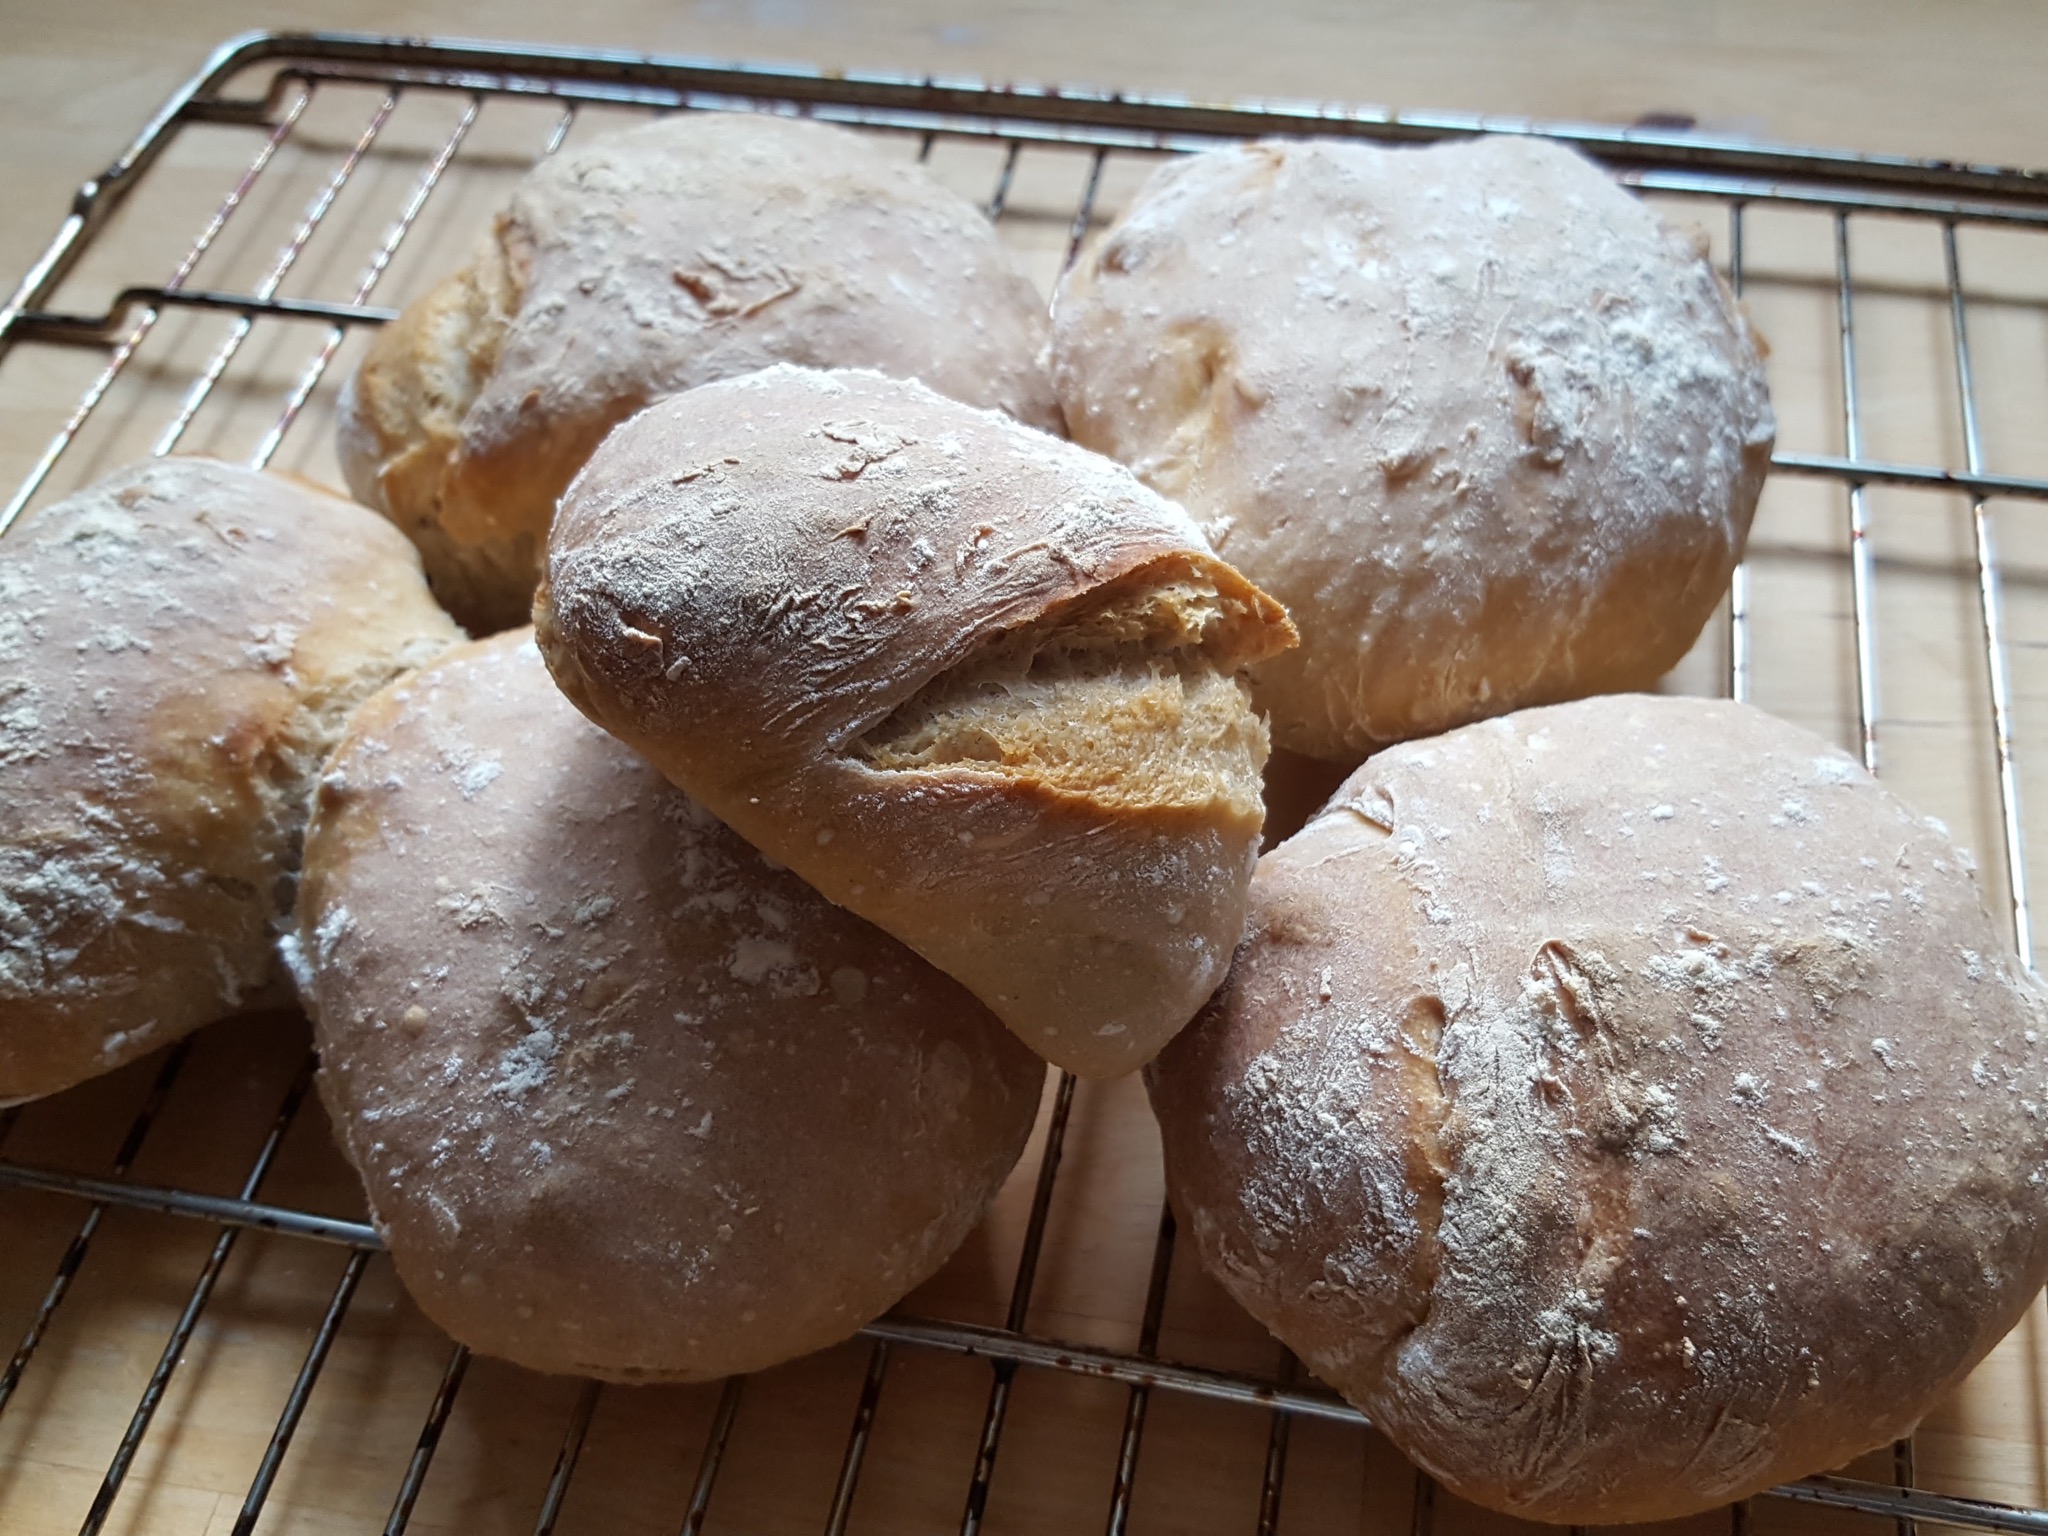
- Brötchen (rolls). 35-40min
- Mini baguettes. 40-50min
- Loaf (one big). 45-55min (you might want to drop the temp to 200C after 30min. Check the crust color.)
Done